Adding an Authorized Payer
For more information about the Nelnet payment plans, please visit http://mycollegepaymentplan.com/blinn
Students
If someone is paying on your behalf, you must first set them up as an Authorized Payer.
- If you have used Nelnet before, simply sign in to manage your account and follow the step by step instructions below.
- If you are new to Nelnet, log into myBLINN and choose the "Pay My Bill" icon. Click on the "Create a username & password" button to create an online account. Follow the step by step instructions below to add an authorized payer.
Authorized Payers
If you are paying on behalf of the student, the student must set up their account first and then add you as an Authorized Payer.
Step 1:
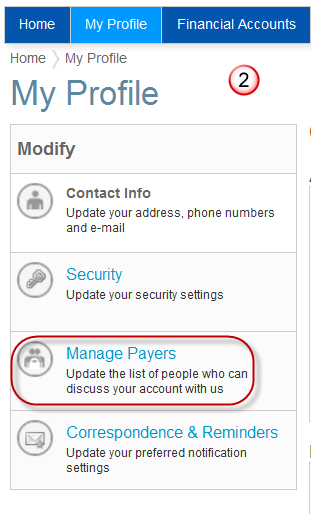
On the Welcome Page, click on My Profile from the menu bar

Step 2:
Under My Profile, select Manage Payers
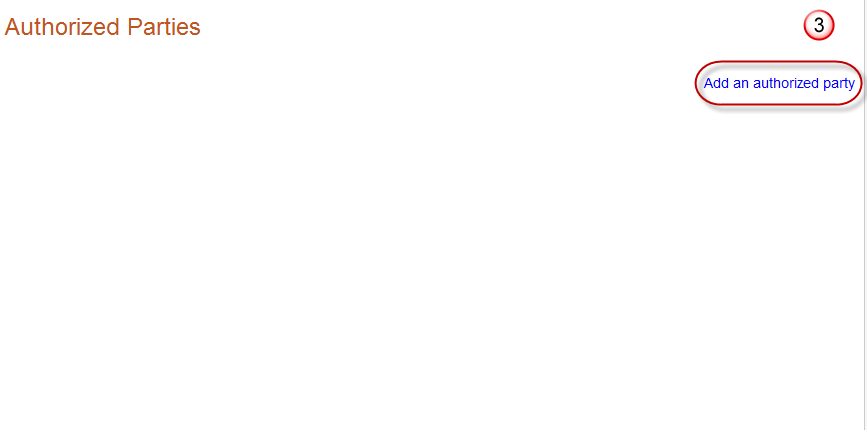
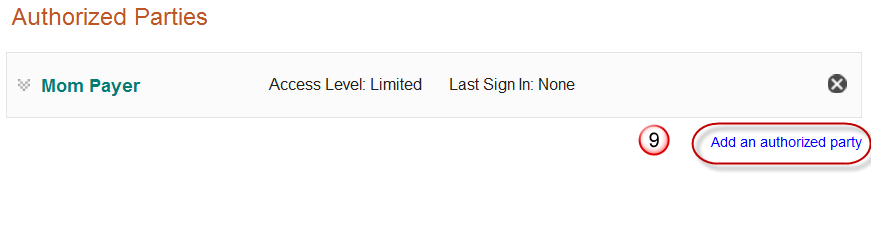
Step 3: Click on Add an authorized party
Step 4 -8: Enter the name of the person. Select the level of access this person has to your Student Account (you may allow them to see the details of your current balance and statement or you may allow them to only see the balance). Create an authentication question that only you and the Authorized Party will know. The Authorized Party must answer the question correctly to link to your account. Enter the Authorized Party email address. This is where the invitation to become your Authorized Party will be sent. Read the terms and conditions and save the information. Once saved, the invitation is sent to the email address provided.
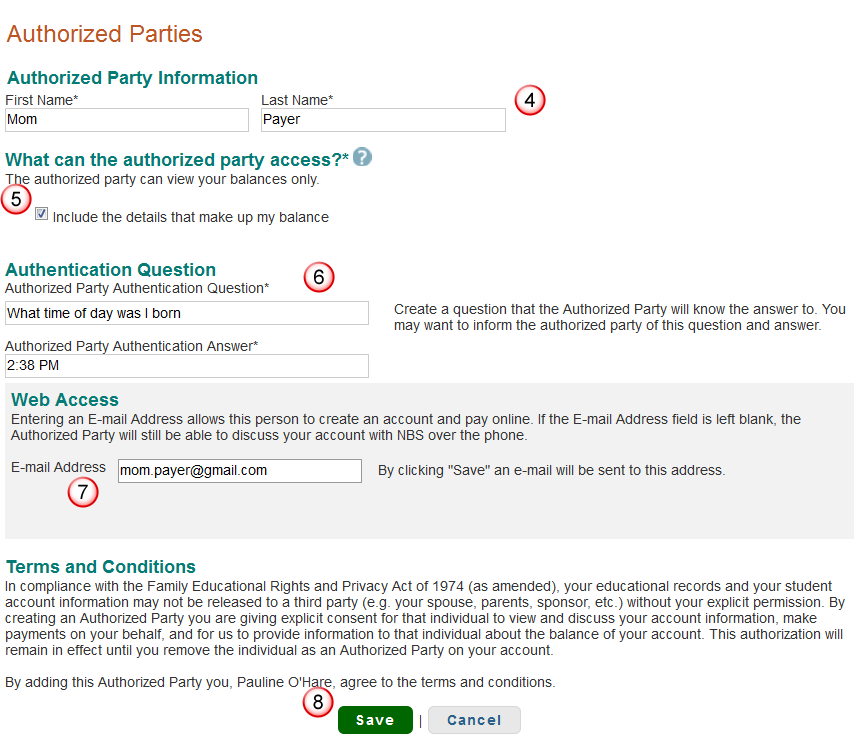
Step 9: Add another Authorized Party. You can have unlimited Authorized Parties on your account.
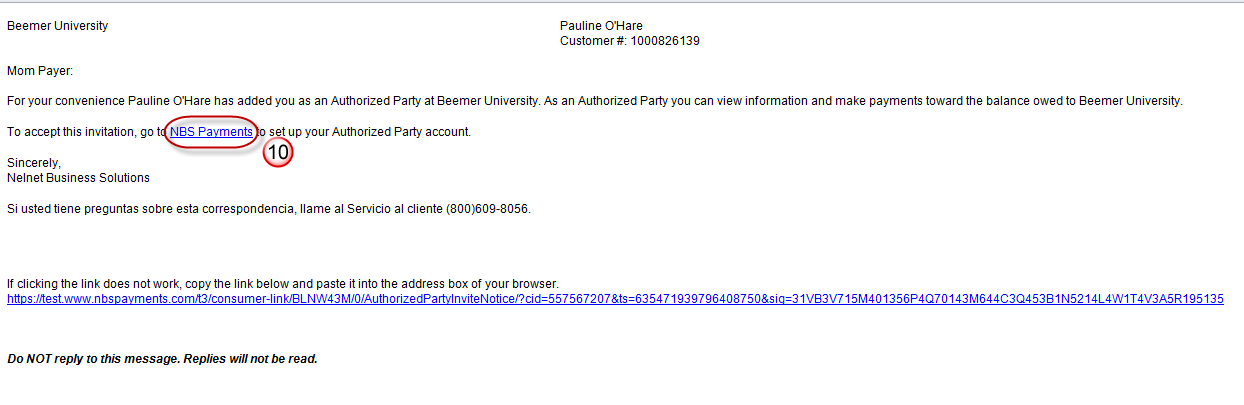
Step 10: Authorized Party must click the link from the email invitation.
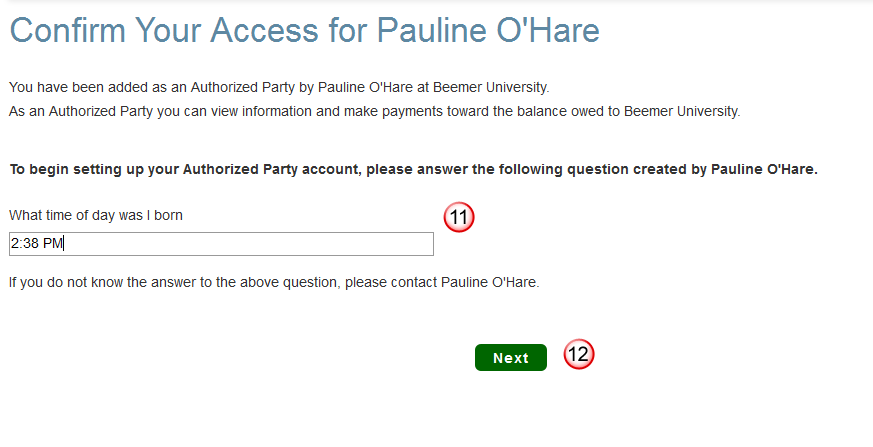
Step 11 and 12: Authorized Party must answer the authentication question entered by the student correctly. Once the question has been answered continue to the next step of registration.
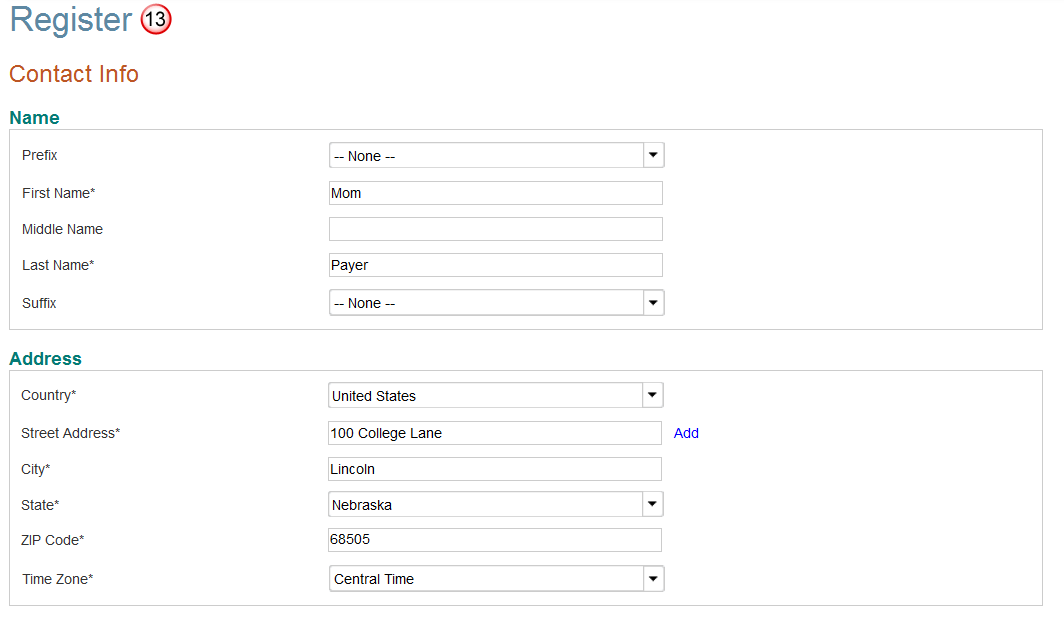
Step 13: Confirm contact information.
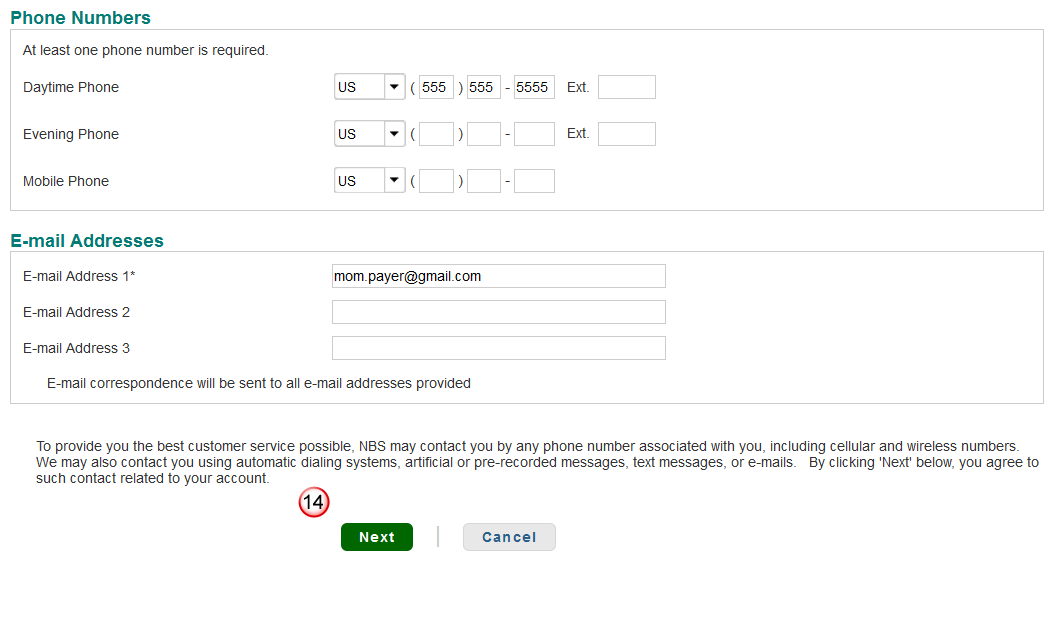
Step 14: Add up to 3 email addresses (email notifications are sent to all emails provided) and proceed to the next step.
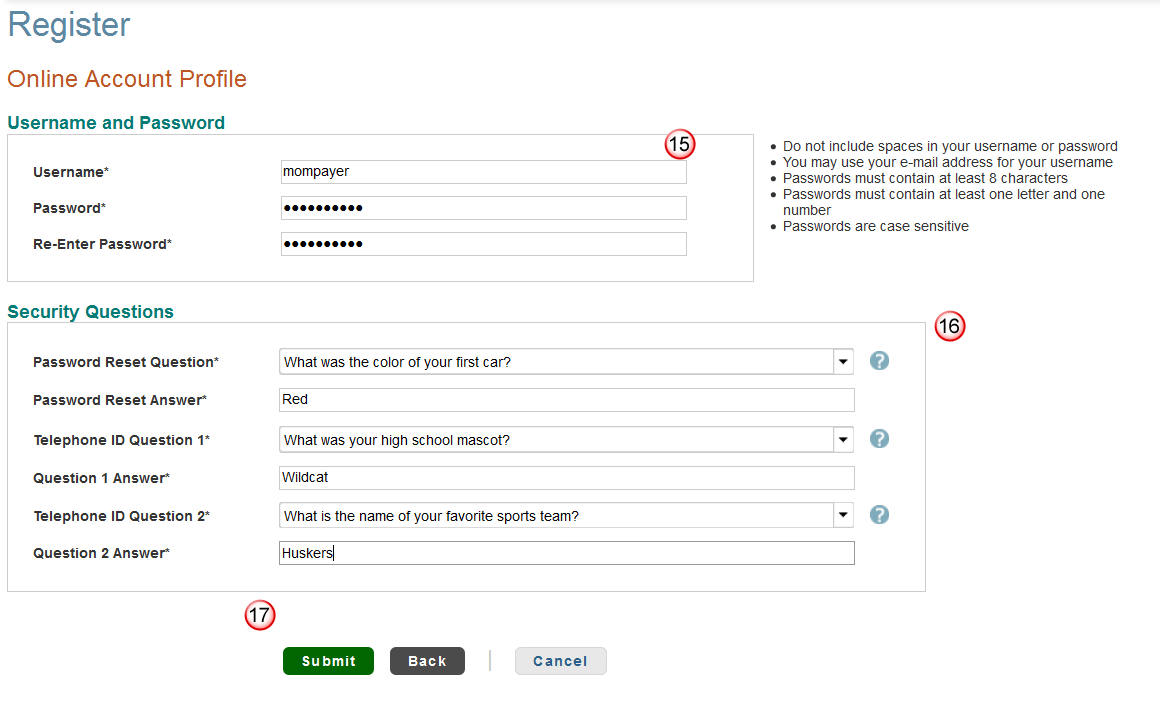
Step 15-17: Create Username and Password. Select 3 security questions from the dropdown. These questions will be how the Authorized Party is authenticated if they call with questions about the account or if they need to reset their password. Complete the registration process by clicking Submit.